


There is a wealth of information on servicing a legacy LeBlond lathe like the Regal.
From our content or a general internet search, there are a multitude of solutions to keeping your legacy LeBlond running along smoothly.
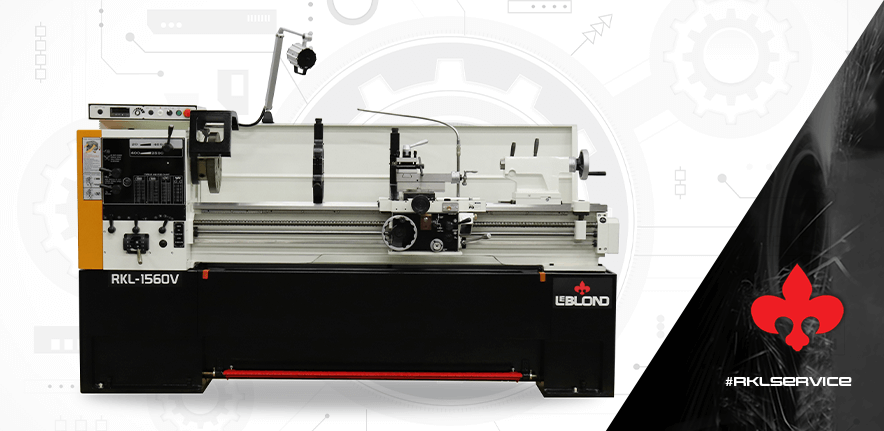
What about LeBlond’s current lineup of lathes — the RKL Series?
This blog details three common service issues and remedies with the RKLs.
Let’s get started with belts.
Imperfect Cuts?
If your belts are fraying or you’re losing cutting torque, it might be time to replace the V-Belts on your RKL.
We recommend this process twice annually.
If this procedure is not observed, it could affect the timing on your feeds and create imperfect cuts and chatter marks on your workpiece.
V-Belts Replacement on LeBlond’s RKL Lathe
- To begin replacing the V-belts on your LeBlond RKL lathe, ensure that the lathe is turned off and disconnected from any power sources to prevent accidents.
- Locate the V-belts on the lathe. These belts are responsible for transferring power from the motor to the lathe’s various components and may show signs of wear or damage over time.
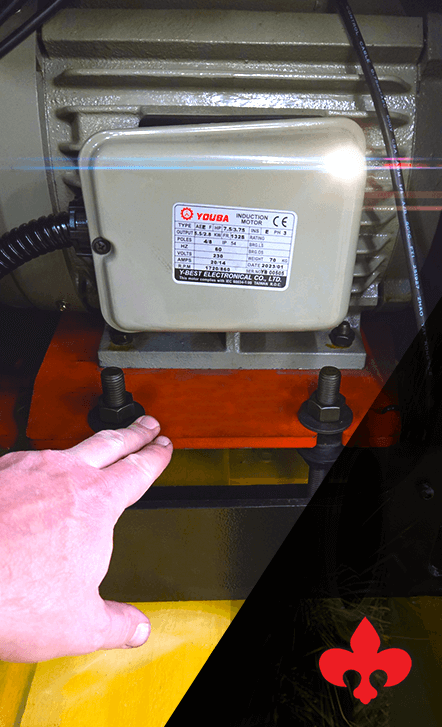
Identify the drive plate tension plate on your RKL.
- Use an appropriate tool to loosen the tension on the V-belts, allowing you to remove them from their pulleys. Take note of the belt configuration and placement for easier installation later on.
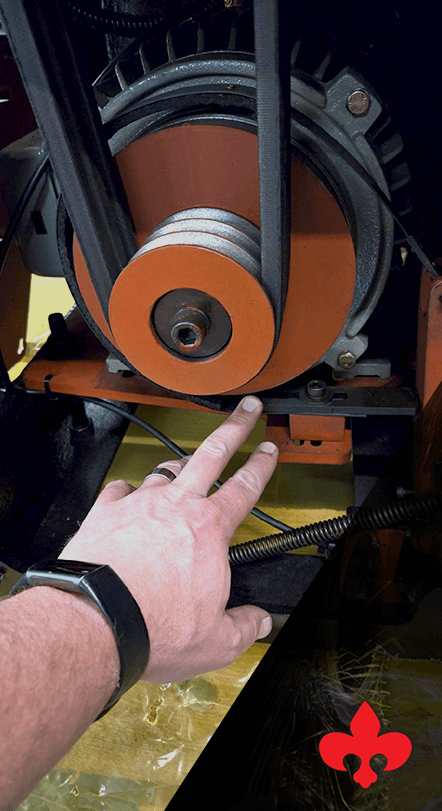
Identify the brake strap adjustment on your RKL.
- Carefully remove the old V-belts from the lathe, ensuring that no debris or fragments are left behind. Inspect the belts for any signs of excessive wear, cracking or other damage.
- Install the new V-belts by following the previous belt configuration and placement. Ensure the belts are properly seated within their respective pulleys to promote efficient power transfer.
- Use the appropriate tool to tighten the tension on the new V-belts. Be cautious not to overtighten, as this may cause unnecessary strain on the lathe components.
- Once the new V-belts are securely in place and correctly tensioned, perform a brief test run to confirm they are functioning properly. If any issues persist, double-check the belt installation and tension adjustments.
Got a “Slow Roll” Brake?
When you’re losing braking power on your RKL and having to push the pedal all the way to the floor instead of the customary three inches, it might be time to do a brake and switch replacement on your machine.
RKL Brake & Switch Replacement
- Before replacing the brake and switch components on your LeBlond RKL lathe, disengage power and disconnect the lathe from any electrical sources for safety reasons.
- Identify the location of the brake and switch within the lathe’s control panel or designated assembly. These components ensure the safe operation and control of the lathe.
- Remove any protective covers or panels necessary to access the brake and switch components. This may require the use of specific tools or the loosening of screws or bolts.
- Carefully disconnect any wiring or connections attached to the old brake and switch. Take note of their arrangement for accurate reconnection during the replacement process.
- Extract the old brake and switch from their respective mounts, ensuring no loose parts or debris remain behind. Examine the removed components for any signs of damage or wear that may have caused their malfunction.
- Install the new brake and switch by correctly positioning them in their allotted mounts. Ensure a secure fit and reattach any wiring or connections as noted during the removal process.
- Replace any protective covers or panels that were removed earlier, securely fastening them with appropriate screws or bolts.
- Once all replacements and connections have been completed, restore power to the lathe and perform a test run to verify the proper functioning of the new brake and switch components. If any issues persist, inspect the installation and connections for errors or damages.
Need Parts?
If your brake pads are worn out, you will need to replace these to avoid metal-to-metal screeching like you hear when the pads wear out on your car’s brakes.
LeBlond sells all these OES components for a successful V-belt and brake switch replacement. For pricing and other details, VISIT THIS PAGE or call +1 (888) 532-5663 and select Option 1.
Crashed Your Lathe?
If you were threading or feeding and ran your tool into a workpiece, you may have shattered your leadscrew, the lathe component responsible for translating rotational motion into linear movement.
You will have a sudden halt on the machine where the gearbox will keep turning but your leadscrew is not spinning.
Here are the step-by-step directions for replacing the shear pins that protect the leadscrew.
LeBlond RKL Leadscrew Shear Pin Replacement
- Begin the replacement of the leadscrew shear pin on your LeBlond RKL lathe by first disconnecting the lathe from any power sources and ensuring that it is turned off.
- Locate the leadscrew assembly within your lathe. The shear pin is designed to break in the event of excessive force or jamming, protecting the leadscrew from damage.
- Identify the shear pin within the leadscrew assembly. This pin will typically be situated near the gears or sprockets that drive the leadscrew.
- Use an appropriate tool to remove any retaining fasteners or covers securing the shear pin within the assembly. This may involve removing screws, bolts or other attachments.
- Carefully extract the old shear pin from its location, being mindful of any surrounding components or mechanisms that may be delicate.
- Inspect the old shear pin for signs of damage or breakage to determine if replacement is necessary. If there are any doubts about the integrity of the old pin, replacing it with a new one is recommended.
- Insert the new shear pin into the designated slot or hole within the leadscrew assembly. Ensure that it is properly aligned and seated securely in its position.
- Replace any retaining fasteners or covers that were removed earlier, ensuring that they are appropriately tightened to secure the shear pin in place.
- Once the leadscrew shear pin replacement is complete, reconnect power to the lathe and run a test to confirm that the leadscrew is operating smoothly. If any issues persist, double-check the replacement and make any necessary adjustments or reinstallation.
Need Shear Pins or Other RKL Parts?
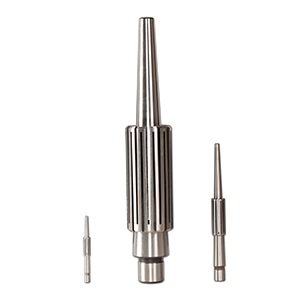
Even if you didn’t damage your leadscrew, you should have several shear pins in stock as a preventative measure.
You can order shear pins for your LeBlond RKL lathe like the ones shown below by contacting us.

The shear pins are inexpensive, and we can get them out to you as soon as the next day, if necessary.
Our RKL lathes are newer but still need servicing to ensure they operate at maximum efficiency. If you need any RKL OES parts, please contact us:
- Call +1 (888) 532-5663 and select Option 1 (Monday – Friday 8am – 5pm ET).
- Or VISIT THIS PAGE.
- Or just leave a comment below.
- If you are in the market for a new lathe and trust the LeBlond brand, we encourage you to check out OUR RKL LINEUP.
We look forward to hearing from you!