What you need to know about lathe versatility
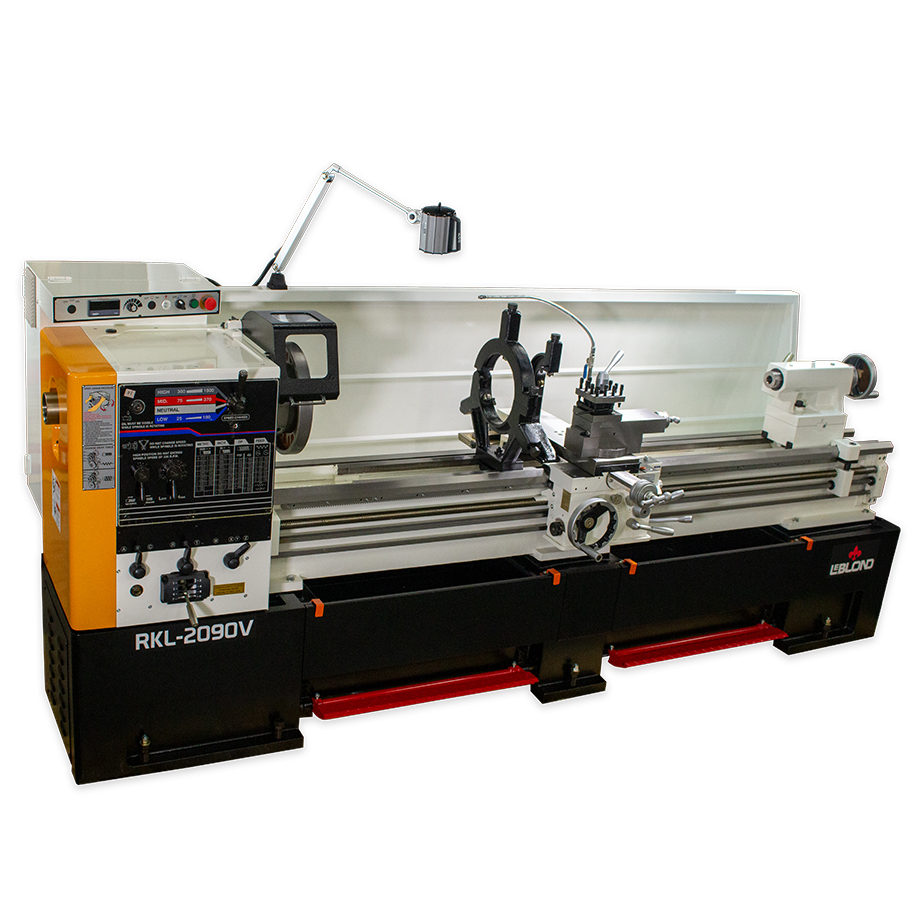
Complex machined parts often require multiple steps for turning, boring, facing and finishing for final part production or assembly. Thankfully, lathes can handle many of the different cutting processes from start to finish. A manual lathe is one of the most versatile machine tools in any shop, and while CNC lathes may dominate high-volume production, manual lathes are still widely used for precision work, repair, prototyping, and training. Knowing the following capabilities will allow a professional lathe machinist to be their machine shop’s jack-of-all-trades linchpin.
1. Turning Operations
There are 4 main turning types:
Straight turning – reduces the diameter of a workpiece. Use a sharp, properly ground tool with the correct rake angle for the material. For example, it’s best to use a more positive rake for aluminum and a neutral rake for steel. Keep the tool centerline exactly on workpiececenter to avoid taper. The most common tolerances are ±0.001″ for general work; down to ±0.0002″ for precision fits.
Taper turning – creates conical surfaces. Achieved by swiveling the compound rest or offsetting the tailstock. Compound rest is better for short, steep tapers. A tailstock offset is more stable for long, shallow tapers. Surface finish can be tricky on tapers. It’s best to use a fine feed rate and a sharp tool.
Step turning – machines multiple diameters along the same axis. It’s best to rough out the largest diameter first, then work toward smaller steps to minimize chatter. Leave stock for finishing passes to achieve square, sharp shoulders.
Contour turning – forms complex curves by hand. This method is often done freehand using the cross-slide and compound simultaneously. Experienced machinists grind custom form tools for repeatable contours.
2. Facing Operations
Facing – producing flat surfaces at the ends of a workpiece. The tool should be set slightly above centerline to avoid digging into the center. A sharp tool and light finish cuts are critical to achieve optimal flatness.
Parting (cut-off) – cutting workpieces to length. Use rigid setup, minimal tool overhang, and proper lubrication for clean parting. Slightly tilt the tool tip downward to prevent “popping” at breakthrough. Risk of chatter is high when parting reduce spindle speed as the tool nears center.
3. Thread Cutting
External threads – producing screws, bolts, or threaded shafts. Set compound rest at 29.5° for metric/imperial threads to engage primarily one flank. Use threading dial on inch threads; for metric, keep half-nuts engaged. Verify accuracy with thread micrometer, wires, or a ring gauge.
Internal threads – cutting threads inside holes with a single-point tool. Requires boring bar with good clearance. Avoid tool rubbing at minor diameter by grinding generous relief. This treatment is often harder to inspect — use thread plug gauges for accuracy.
4. Drilling & Boring
Drilling – uses the tailstock to drill holes into the center of the workpiece. Use tailstock with a center drill first to establish accuracy. Peck drilling helps clear chips in deep holes.
Boring – enlarges and finishing pre-drilled holes for precision fits. Small boring bars can chatter. So, it is best to use the largest possible bar that fits the hole. Dial indicator setups on the carriage to help ensure depth accuracy.
Reaming – improves hole accuracy and finish. Leave only 0.005″–0.015″ stock for reaming (too much stock will ruin finish). Use slow spindle speed and steady feed, lots of cutting fluid.
Tapping – cutting internal threads with a tap in the tailstock. Tapping is preferably completed with a floating tap holder in the tailstock. Reverse by hand to prevent breaking taps in smaller holes.
5. Knurling
Creating diamond or straight textured patterns on cylindrical surfaces for grip (e.g., tool handles or knobs). Use ample cutting oil since dry knurling leads to tearing. Adjust knurling tool pressure gradually until rolls engage fully without double-tracking. Diamond knurls provide better grip, straight knurls are better for press fits.
6. Grooving and Undercutting
This is primarily for machining grooves for snap rings, O-rings, or design reliefs. Other uses of this technique are for undercutting near shoulders to ensure proper part fit. Pro tips include:
1. Pay attention to groove width tolerances — especially for O-rings or snap rings.
2. Grind tools with adequate side and end clearance to prevent rubbing in tight spaces.
7. Form Turning
Shaping a profile using a specially ground form tool. Form turning requires a custom-ground form tool with a proper rake and relief. Form tools must be rigid and sharp, otherwise, poor setup leads to chatter. Remember the depth of cut must be light to avoid tool deflection.
8. Polishing & Finishing
This step incorporates using abrasives, emery cloth, or polishing compounds to improve surface finish. Best practices include using an emery cloth backed by a flat file to maintain roundness. Never wrap cloth around the part since this creates a safety hazard. Polishing can slightly reduce diameter. It is important measure often to maintain part specifications.
A lathe is workhorse that is only limited by the creativity of the design engineer and machinist. The variety of cutting operations a lathe handles is unique to this versatile tool. Lathes have the ability to machine the most complex parts down to the most basic, simple pieces. This machine’s flexibility to cut a broad range of materials truly crowns it the king of the machine shop.



There is a Facebook group called LeBlond Lathe and parts for sale. Tim Fuller goes on it every now and then. Be nice if one of your experts would answer some of the questions asked. I got a few myself I would like to ask about one of my machines.