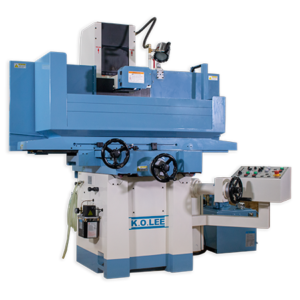
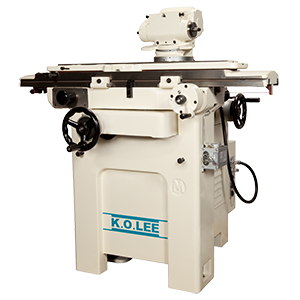
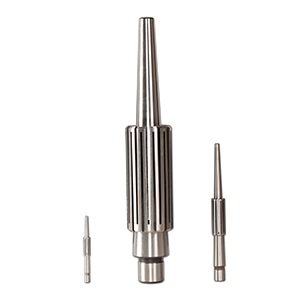
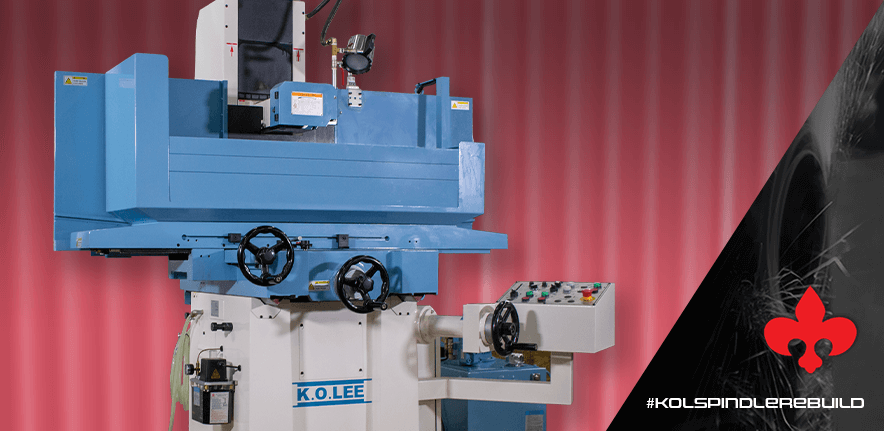
Watch step-by-step instructions on how to rebuild the spindle on your K.O. Lee surface grinder.
We’ll cover the tools you need and get you past roadblocks that can pop up during the process:
If you need assistance with a K.O. Lee spindle rebuild or parts for the process,
- Call us at +1 (888) 532-5663 and select Option 3 (Monday – Friday 8am – 5pm ET)
- Or leave a comment below.
We look forward to hearing from you.
Video Transcript
Hey guys, it’s Christopher Smith here with LeBlond. We’re going to talk to you today not about lathes. We’re going to be talking about the KO lee surface grinders that we also service and also sell as well. So what we’re starting off with here is a KO Lee, KB 6 0 5 5 CL spindle. We do a lot of rebuilds for these and it’s not just the 6 0 5 5 CL that we rebuilt. We rebuilt quite a few of ’em and see I’ve got a folder here of just a few of ’em that we do, but there’s probably about 20 or 30 of ’em that we do for the KO Lee line as well and also our log book. So customer sent this one in and it has seen a lot of work. It’s probably one of the ones that’s probably in the worst shape that I have ever seen that I have not been able to get a part.
So we have got the customer to buy a new one and we’ll go over that. As you can see, this is the inside of the Quill assembly. This is your spindle, these are your bearings with your spacer. You can see this bearing is locked up and you can see the damage to it. There’s a lot of wear here on the arbor as well where your grinding wheel is going to sit. So here’s one of the lock nuts with the seal in it as well and you can see this was on the back end not even exposed to the coolant and got pretty damaged. And the reason why I’ve chosen to rebuild it is if you look here, I’ve seen blasted this. This was in pretty bad shape when it came in, but it is just, the wall is just too thin for me to get my wrench on that pulls these out.
You can see here’s a wrench that would go in there and it just keeps popping. I thought about taking a punch and going in there, but I’m worried about messing up the threads which would ultimately in turn damage the seal causing not to seal again when they started using cold sew. So this one is going to be going to the trash and we’re going to build a new one. And here’s what’s all involved inside the new ones. You got your housing here, which I’ll need to stamp up with the KBS 6 0 5 5 CL part number and then what we’ll also do, we’ll put a LeBron serial number, that way we can record it. If whoever comes in, I’ll know when it was shipped out for warranty purposes as well. Now I’ll tell you, you’ve got the canoe surface. Any or quill, it needs to be rebuilt with a rebuilt.
It’s generally just your nuts, seals and your bearings generally that we have to replace. A lot of times your spindle will be just fine. Your end caps can be reused. If they’re rusting dirty, we can clean those up, sandblast ’em, solvent tank, get them all good and clean. Big thing you want to do with your bearings, these are high speed precision bearings and as you can see there’s no grease them as well. We take a syringe with high temp lithium grease and I will pack these all in and set it all in and test it. Now when it’s all together, the end result is going to be this right here, this is the KV S 8 0 5 5 cl. You can see nice and smooth, no sounds whatsoever as you turn it and I’ll go over showing you at the end after we get it built, how we test run these procedures for that these to look for and all that good stuff.
So let’s get started. Hey guys, so we’re here. I’ve got, while the bearing’s already done, I’ve already went ahead and stuck the other two and built the other side. Sure you know how I pack these bearings. Like I said, I just got this syringe that I keep filling up so that’s why it’s kind of messy. But I’m going to get it down in here and try to get this grease and don’t worry about the overflow because you want to get as much grease inside these as possible at the low line. These are running at 3,400 RPM and the high end you’re running at 7,450 RPM. So I’ll shoot the inside and then I’ll go ahead and shoot the other and was going to take my finger and just work it all around trying to get as much in as I possibly can and it’s going to be messy.
You might be thinking to yourself, Connolly, he’s wasting a lot. You take that, got my cup, wipe it off. You don’t want to have too much excess and you just wipe off with their weight. This grease is expensive. Now I’ve got it packed. I’m going to go ahead and roll it a couple times just to make sure it’s in there and it’s going to cause some of that that I packed to come out again as well. So I’m going to go ahead and work it in again. That way I know I’ve got maximum coverage that I can get.
Okay, so now I feel pretty good about this. Got my quill locked into the vice. Now further drawings, these bearings are directional and it took me a little bit of while to understand that but what can we show you here? So the skinny side goes down inside first and what I mean by the skinny side is the outer race here. If you see how kind of thin it is and you see this gap difference, but then I flipped this over this side, you can see this side of the race is a little bit thicker and that gap pain is wide so it’s going to go down in there like that with a thin going in.
I will work that in,
They’ll wipe my fingers off and I’ve already got the nuts seal on the other side so it’s all kind of locked in. And now we’re just going to drive this down. Now to do that I have the special made sleeve I put on there this little slide over and I’m going to get a light wing tapping it. Next up are our spacers and there’s two of them with the groove and the groove is going to face towards the outside Before I put those in, just use a little bit of oil wild just to help these two on the running running. They’ll help keep it from getting hot. Those are on my W sleeve here. Drive it down, little down, you’ll hear the sound difference and it ain’t going to move anymore. Spacer lifting up that big deal actually slides in pretty easy And for our next bearing, and again you say it’s directional, got the fat side there, then side there, then we’ll be facing how
Work that on good launch plunge,
Set her down and seat it. Okay, now with that in place we go ahead and wipe off any of this excess grease on the spindle itself and the nut seal is going to go in and that’s what’s going to seal it and keep basically around and cooling. Keep the colon from getting inside, getting to the bearings and any other your dust debris from GR meat. We always put a little shim on and I’ll explain to you what that does here in a second. So start with a shim, go on and the next is the nut seal. Now for the nut seal we take blue thread locker. This is just the medium strength so you can get it off, but what it’s going to do, it’s going to seal up the threads so nothing can pass through and get down inside,
Go on
The excess. Now here’s where it gets a little bit crucial where you got to pay attention and not get carried away. So here to tighten this up and you don’t need to put any kind of torque or squeeze on it. I’m going to bring it down just to a touch like so. And that’s all you need. You can give it a spin feel that’s gliding real nice and easy and that’s all you need. And the thread locker is also going to help keep that from backing out as you’re running too as well as long as working as a seal. Now the reason for the shim, it’s got to give us a little bit of a guess when we put the cap on, the shims can actually hit on here and lift it up a bit so it’s not running metal to metal in here.
Alan
Need to get it by this. It’s a little tight with these new seals performed.
Cool. Yeah, that kind the worship of credit, right? That
Your own just still a spinning freely. Flip it over. See we’ve already got the seals and the barrels and on this side. Got it.
They are in a same town.
These new seals are really good and tight. Long bit of encouragement.
Hi SM, we will
Wipe out the access Lay Hammond ice and smooth. Now we’re going to take it over to the bench and we’ll show you how we set it up and test it. Hey guys. So we got the quill all back together and we are going to test it now so we make sure it’s good for the customer to use. So all over here I’ll show you how we test it. So we’ve got this quill holder that we have and I mounted it to the table of our mill. I’ve added a pulley on the end of the quill here that our belt will go in and run in. So what we’ll do, we’ll just slide this in here. So clamper down ta. Now we will get this up and running at 3000 RPM and we’ll run it for a half hour with a temperature and to make sure we don’t get overheated, we’d like to see you anywhere from 1 0 8 to one 11 is a good temperature. So we know we’re good to go. So grab my belt here, got my other pulley set up here on single and bitter stream contention, yield, hit. Now we’re up and running so you can see we’re only at 1600 RRP N. So we’ll bump that up.
Stomach temperature here,
You would tweak it on to fall,
Start to fall for a half hour. And yeah, we’ll come back and we’ll check the temperature. But really that’s all that there is to this. Make sure it’s running good. Then we’ll also check the tap, make sure there is small movement. If we’re done, we’ll stamp up part number and should be ready to go for the customer. We guys, you have any questions about that or want to see any other kind of video, they’re like this hopeful. Please let us know what you thought. And yeah, reach out to [email protected] and we’ll do what we can new to help you. Thank you.

